If you want to measure PM2.5 at home, start with one decent particle monitor, one fixed testing spot, and a week of normal behaviour before changing anything. The number matters less than the pattern: when it spikes, how high it gets, how long it takes to fall, and whether ventilation or filtration actually improves it.
In This Article
- Measure PM2.5 at Home: What the Number Means
- Choosing a Home PM2.5 Monitor
- Where to Place the Monitor
- How to Run a Seven-Day Baseline
- Cooking, Outdoor Air and Candle Tests
- How to Read PM2.5 Results Without Panicking
- What to Do When PM2.5 Stays High
- Frequently Asked Questions
Measure PM2.5 at Home: What the Number Means
PM2.5 means fine particulate matter smaller than 2.5 micrometres. That is tiny enough to stay airborne, get deep into lungs, and move around a home in ways you cannot see. In a UK house it often comes from frying, grilling, candles, incense, wood burners, traffic pollution, dusty jobs, or outdoor air coming in on a polluted day.
Most home monitors show PM2.5 in micrograms per cubic metre, written as µg/m³. Do not worry if the symbol looks technical. In practice, you are watching a small number that rises when particles build up and falls when the room clears.
The readings to know
For home use, I would treat PM2.5 like this:
- 0-10 µg/m³: good background level
- 10-25 µg/m³: acceptable short-term level, but worth watching if it stays there all day
- 25-50 µg/m³: elevated; look for a source or improve ventilation/filtration
- 50-100 µg/m³: high; common during frying, smoke or candles, but it should fall quickly
- 100+ µg/m³: very high indoors; stop the source, ventilate if outdoor air is better, and use filtration
The UK’s public outdoor pollution scale is the Daily Air Quality Index. DEFRA explains the bands and health advice on the Daily Air Quality Index page, which is useful context when comparing indoor spikes with outdoor conditions.
Do not judge from one reading
A single PM2.5 reading is a snapshot. It might catch the room just after toast burned, just after a delivery van idled outside, or just after you opened the window on a high-pollution morning. The useful information is the pattern.
That is why measuring PM2.5 at home is not “buy a monitor and stare at it”. It is a simple test routine: place the monitor properly, record a normal week, then test one change at a time.
Choosing a Home PM2.5 Monitor
You need a monitor that actually measures PM2.5, not just a vague air-quality light. Many cheap gadgets use colour indicators without showing the number, which makes testing hard. You want a live µg/m³ reading and, ideally, a history graph.
Budget options
At the budget end, expect to spend £30-£70:
- IKEA VINDSTYRKA: about £35 from IKEA; measures PM2.5, tVOC, temperature and humidity, but not CO2
- Temtop M10-style monitors: usually £45-£80 on Amazon UK; useful if you want a simple PM2.5 display
- Qingping Lite-style monitors: often £70-£110; some versions include PM2.5, PM10 and CO2 depending on model
The VINDSTYRKA is good value if you already use IKEA smart-home kit. The limitation is that it is better for trends than forensic testing. A Temtop-style handheld monitor is more portable, which helps if you want to move around rooms.
Mid-range and premium options
For a fuller picture, budget £100-£250:
- Airthings View Plus: about £230-£260; tracks PM2.5, CO2, VOCs, radon, humidity and temperature
- Awair Element-style monitors: often around £150-£200 when available; good for trend tracking
- Higher-end Qingping models: around £120-£180 depending on sensors
If you already own a purifier with a PM2.5 display, use it as a clue, not the whole truth. Purifier sensors sit near the device, so they can make the room look cleaner than it feels across the sofa or bed. A separate monitor placed away from the outlet is better for room-level testing. Our best air purifiers UK guide is worth using once you know the room genuinely needs filtration.
Features that matter
Prioritise:
- Numerical PM2.5 reading: not only green/amber/red lights
- Data history: app graph or export, so you can see peaks and recovery time
- Battery or USB power: useful for moving between rooms
- Humidity reading: helps separate particle problems from damp/ventilation problems
- Clear sensor list: avoid devices that do not state what they measure
You do not need laboratory accuracy. You need repeatable, directional data. If the same monitor shows a kitchen spike every evening and a bedroom spike every time you burn candles, that is useful enough to change behaviour.
Where to Place the Monitor
Placement can make a clean room look dirty, or a dirty room look fine. Put the monitor where a person breathes, not where the device gets blasted by a source or a purifier.
Good placement
Start with these rules:
- Height: table, shelf or bedside height, roughly 70-120cm from the floor
- Distance from windows: at least 1 metre away unless you are deliberately testing outdoor air
- Distance from purifier outlet: 2 metres or more, ideally across the room
- Distance from cooking source: not directly above the hob unless you are testing a short cooking plume
- Stable position: leave it in one place during baseline testing
For a living room, a side table works well. For a bedroom, use a chest of drawers away from the window. For a kitchen, use a worktop away from the hob for room-level readings, then a closer position only for a specific cooking test.
Bad placement
Avoid:
- Windowsills: they overstate outdoor influence and draughts
- Radiators: heat can affect airflow and sensor behaviour
- Direct purifier airflow: gives flattering readings
- Inside cupboards: not representative of breathing air
- Next to candles or incense: useful for a source test, useless for whole-room tracking
I like to mark the testing spot with a bit of masking tape for a week. It sounds fussy, but moving the monitor around every day makes the results harder to interpret.
How to Run a Seven-Day Baseline
A baseline is your normal home before you start fixing things. It stops you buying a £300 purifier for a problem that only happens when the frying pan is smoking.
Day-by-day plan
Use one room first. The kitchen/living room or bedroom usually tells you the most.
- Put the monitor in the chosen spot and leave it there.
- Record the PM2.5 reading morning, mid-afternoon and evening.
- Note events: cooking, candles, cleaning sprays, open windows, traffic outside, vacuuming, wood burner use.
- Watch the peak number after each event.
- Record how long it takes to return near the starting level.
- Do not change habits for the first three days unless readings are very high.
- After day four, test one intervention at a time.
Keep notes in your phone. You do not need a spreadsheet unless you enjoy punishing yourself on a Tuesday night.
What a normal week might show
Common UK home patterns:
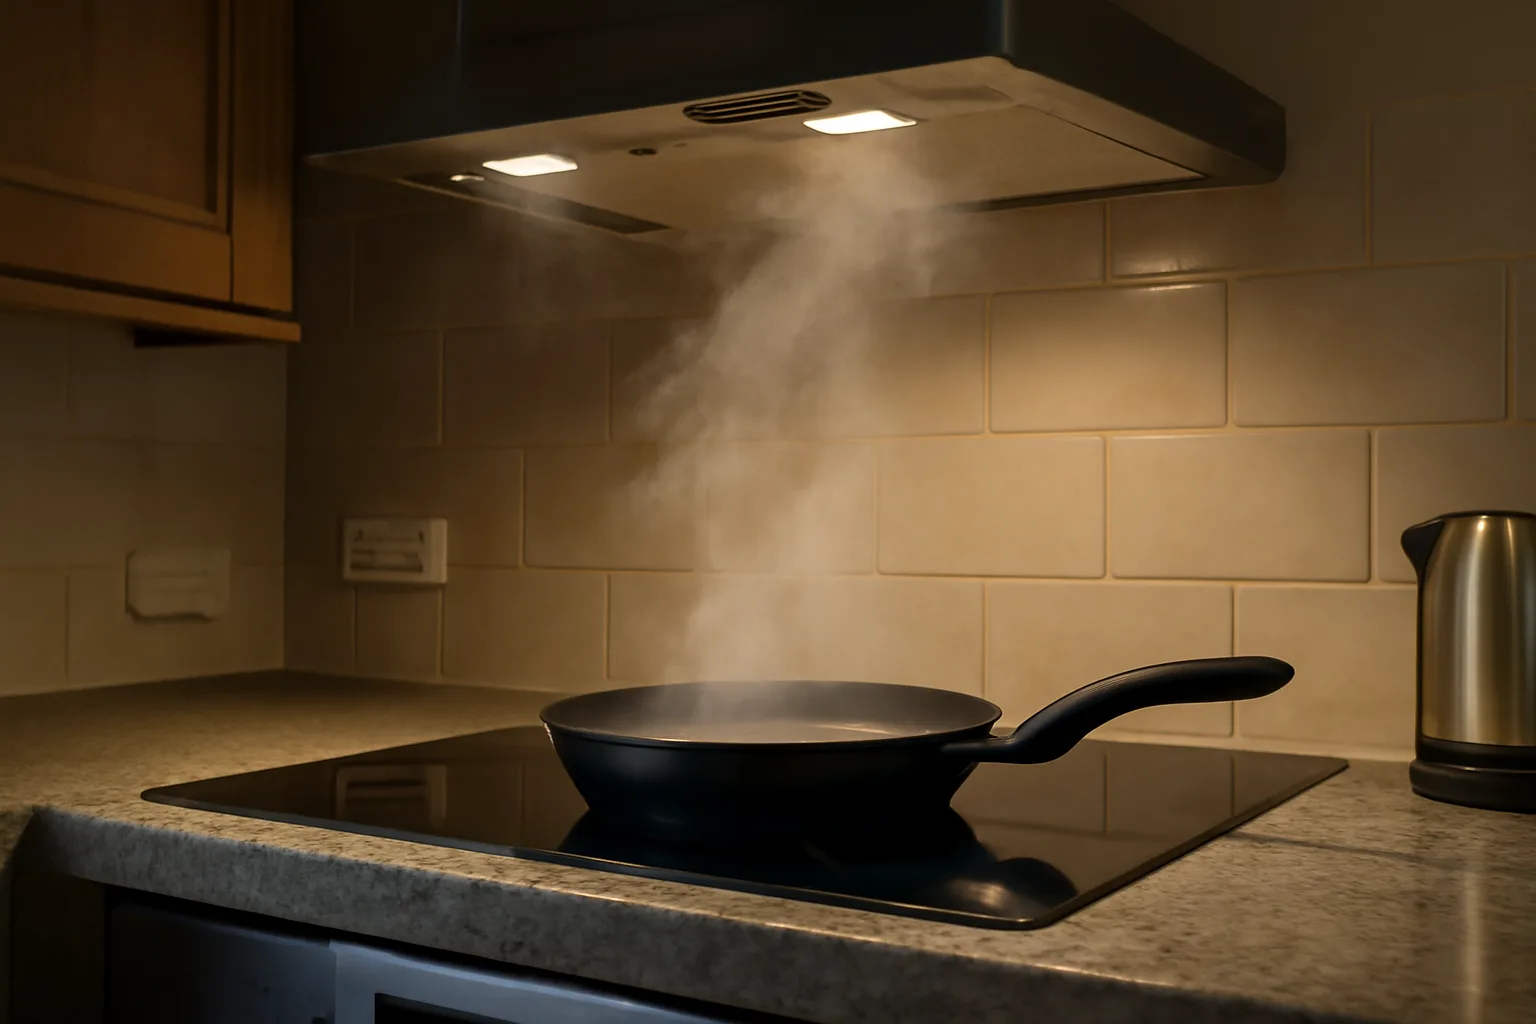
- Kitchen spike after frying: PM2.5 jumps from 6 to 80 µg/m³, then falls within 30-60 minutes with extractor and window use
- Candle evening: slow rise from 8 to 35 µg/m³, staying raised until bedtime
- Busy-road morning: level rises when windows open during traffic
- Bedroom overnight: PM2.5 stays low, but CO2 may rise if your monitor also measures it
- Vacuuming: short spike if the vacuum has poor filtration or dust is disturbed
These patterns are more useful than a single “good” or “bad” reading. They tell you what to change.
Cooking, Outdoor Air and Candle Tests
Once you have a baseline, run controlled tests. Change one thing at a time, then compare the peak and recovery time.
Cooking test
Cooking is the big one. Frying, searing and grilling can raise PM2.5 sharply, even in tidy kitchens.
Run this test twice:
- Cook as normal with the extractor off or on its usual setting.
- Note the PM2.5 before cooking, peak reading, and reading 30 minutes later.
- On another day, use the extractor from the start, open a window slightly if outdoor air is decent, and keep internal doors closed.
- Compare peak and recovery time.
If the peak is high but clears quickly, you have a ventilation habit issue. If it stays high for hours, filtration or extractor performance may need work.
A replacement cooker hood filter is usually £8-£25. A new recirculating carbon filter can be £15-£40 depending on model. That is a cheaper first fix than buying a new purifier.
Outdoor air test
Open a window for 15 minutes and watch the reading. If PM2.5 falls, outdoor air is helping. If it rises, outdoor pollution is coming in.
This matters near busy roads, during bonfire smoke, around wood-burning neighbours, or on still winter evenings. Use the outdoor result to decide whether window ventilation or filtration is the better tool at that moment.
Candle or incense test
If you burn candles, test one evening without them and one evening with them. Scented candles can raise particles and VOC trends. You might find that one candle in a ventilated room is fine, while three candles in a closed living room keep PM2.5 elevated for hours.
The same applies to incense. If a monitor makes one habit look bad, you do not have to become joyless about it. Just ventilate, reduce frequency, or avoid using it in bedrooms.
How to Read PM2.5 Results Without Panicking
PM2.5 monitors can make normal life look alarming because they show invisible spikes. The trick is to separate short events from persistent exposure.
Peak versus recovery
A short spike to 80 µg/m³ during frying is not ideal, but it is a different problem from a bedroom sitting at 35 µg/m³ all night. The first points to cooking ventilation. The second points to outdoor infiltration, indoor sources, or a room that is not clearing.
Write down:
- Starting reading: before the event
- Peak reading: highest number you saw
- Time to half: how long it took to halve
- Time to baseline: how long it took to return close to normal
If a purifier or open window halves the reading quickly, it is doing something useful. If nothing changes, either the source is still active, the device is misplaced, or the intervention is too weak for the room.
Watch the rooms people use most
Do not test every cupboard. Focus on:
- Bedrooms: long exposure while sleeping
- Kitchen/living areas: cooking and shared family time
- Home offices: long closed-door periods
- Children’s rooms: especially if near roads or if candles/sprays are used nearby
If you already have allergies or asthma in the house, pair PM2.5 results with symptom notes. For allergen-specific issues, our guides to air purifiers and allergies and pet allergies cover the filter side in more detail.
What to Do When PM2.5 Stays High
Persistent PM2.5 needs source control first, filtration second, and ventilation when outdoor air helps.
Remove or reduce the source
Start with the obvious:
- Use the extractor from the start of cooking, not once the kitchen smells smoky
- Clean or replace cooker hood filters
- Use lids where practical
- Avoid burning candles in closed rooms
- Do dusty DIY outside or with windows open
- Keep wood-burner smoke out of living spaces
If outdoor air is the source, close windows during the worst period and use filtration indoors. If indoor cooking is the source, extraction and behaviour come first.
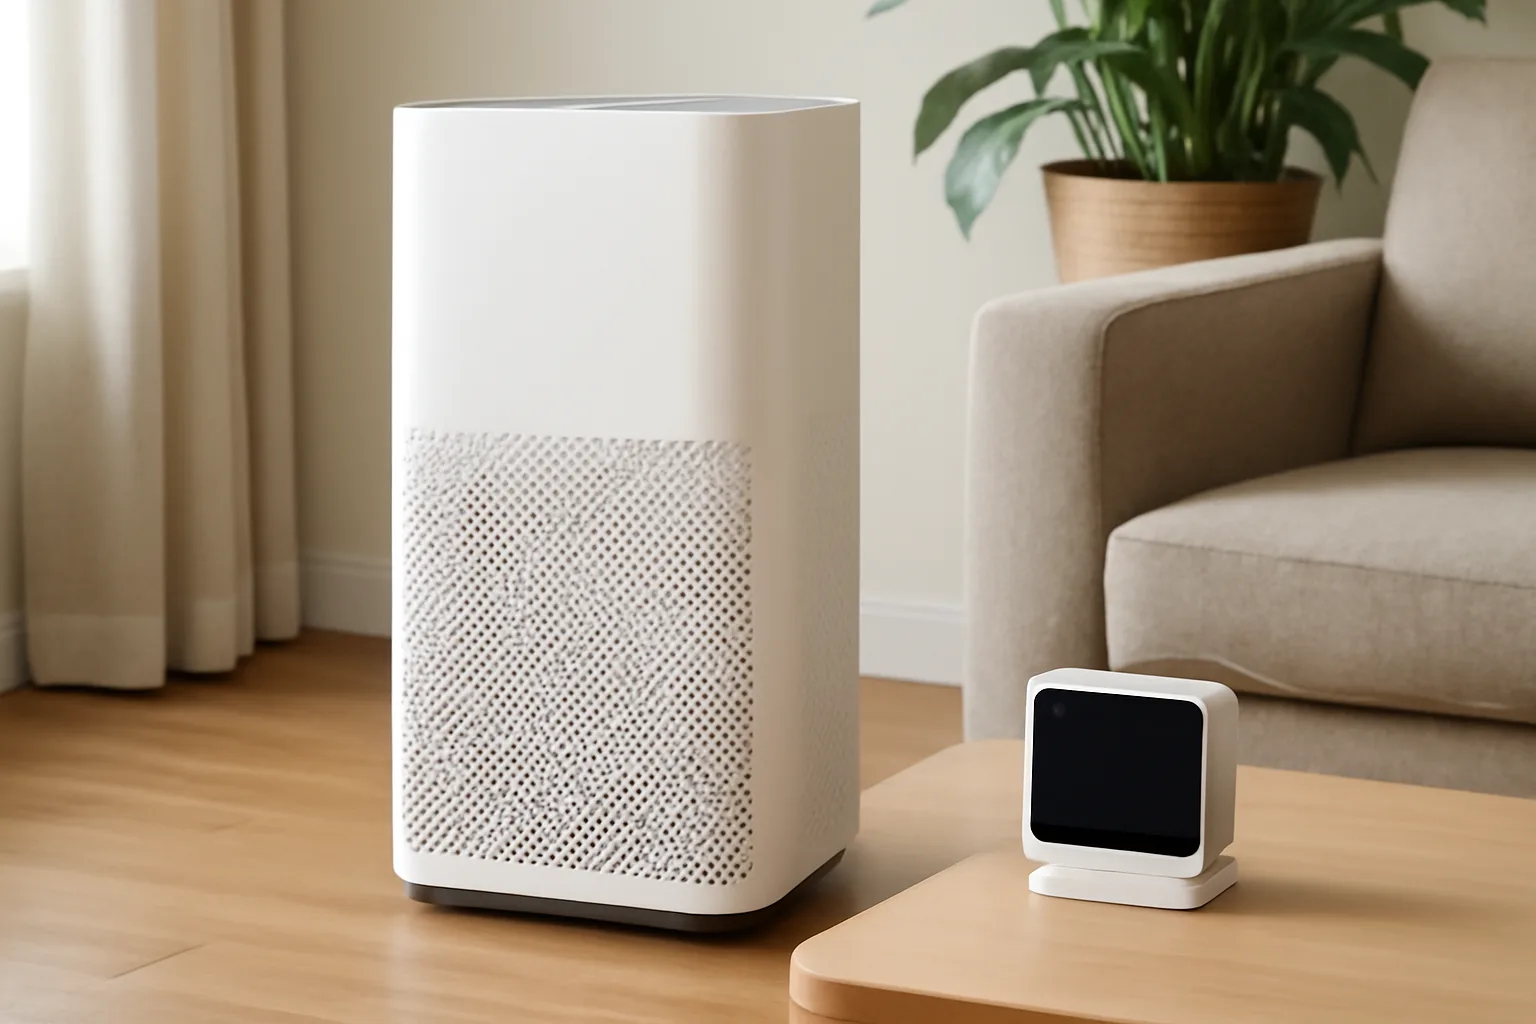
Use filtration properly
A HEPA air purifier can reduce PM2.5 well, but only if it is sized for the room and placed sensibly. For a bedroom, a good unit might cost £90-£180. For a larger open-plan space, expect £180-£350. Replacement HEPA filters usually cost £25-£80 a year depending on brand and use.
Put the purifier where air can circulate, not wedged behind a sofa. Run it on a higher setting during and after particle-heavy events, then drop it to a quieter mode. Check whether the room monitor, not just the purifier’s own display, shows improvement. Our guide to placing an air purifier covers the layout mistakes that make good machines look weak.
Do not confuse PM2.5 with every air problem
PM2.5 is not humidity, CO2, VOCs or carbon monoxide. A room can have low PM2.5 and still feel stuffy because CO2 is high. A room can have low particles and still smell of paint because VOCs are high. If your symptoms do not match the PM2.5 data, broaden the investigation with the wider indoor air quality testing guide.
The goal is not a perfect number all day. It is a home where particle spikes are understood, short-lived and reduced where it is practical.
Frequently Asked Questions
What is a good PM2.5 level at home? A low background reading under 10 µg/m³ is good. Short spikes happen during cooking, but sustained readings above 25 µg/m³ deserve investigation.
Can a cheap PM2.5 monitor be accurate enough? Yes, if you use it for trends rather than lab-grade certainty. A £40-£80 monitor can show whether cooking, candles or a purifier change the room reading.
Where should I place a PM2.5 monitor? Put it at breathing height on a table or shelf, away from windows, radiators, hobs and direct purifier airflow. Keep it in one place during baseline testing.
Why does PM2.5 spike when I cook? Frying, searing and grilling produce fine particles. Use the extractor from the start, ventilate when outdoor air is better, and watch how quickly the reading falls.
Will an air purifier reduce PM2.5? A correctly sized HEPA purifier should reduce PM2.5, especially in bedrooms and living rooms. Use a separate room monitor to check the whole-room result.
Is PM2.5 the same as CO2? No. PM2.5 is fine particles; CO2 is a ventilation marker from people breathing in a closed room. A purifier can reduce PM2.5, but fresh air is needed for CO2.