How to set up continuous drainage on a dehumidifier starts with one check: does your exact model support a drain hose, and where does its manual say the water leaves? If it does, a steadily descending hose can carry condensate to a suitable drain without regular tank emptying. The wrong outlet, a raised hose or a loose connection can leave you with a full tank or water on the floor.
If the tank is filling despite a fitted hose, check for a raised or kinked run before changing parts. If the joint is wet, switch off and unplug safely, then inspect the fit. If no water appears anywhere, first confirm the machine is actually collecting moisture.
In This Article
- Check Whether Your Model Supports Continuous Drainage
- Choose Gravity Drainage, Pump or Tank
- Pick a Safe Drain Destination and Hose Route
- How to Set Up Continuous Drainage on a Dehumidifier With a Gravity Hose
- How to Test the Drain Before Leaving It Running
- Pump-Assisted Drainage Needs Its Own Instructions
- Troubleshoot a Full Tank, No Flow or Leaks
- Maintain the Hose and Know When to Return to Tank Mode
- Frequently Asked Questions
Check Whether Your Model Supports Continuous Drainage
Find the exact model and manual first
Look for the model number on the appliance label, then open that model’s instructions. “Continuous mode” on a control panel may refer to continuous dehumidification while the tank still collects the water. A unit can run continuously while still collecting every drop in its tank. Conversely, a hose outlet may work while the humidistat cycles the compressor on and off. The words describe two different functions.
The manual should identify the correct drain opening, adapter or bung, hose size and any tank-position requirement. This varies enough that a generic “remove the rubber cap at the back” instruction is unsafe. For example, the MeacoDry Arete Two 10/12L manual locates a right-angle adapter in the tank lid and says to refit the tank after connecting the hose to the internal spout. Another model may have a rear nozzle. Identify the exact revision as well as the brand; neighbouring capacities can differ.
If the manual has no drainage provision, use the tank. Drilling the casing, removing a float or improvising a connection risks leakage and can defeat a safety shut-off. Our general dehumidifier-use guide covers placement and humidity settings; this page deals only with the drainage path. If you cannot locate the correct manual, ask the manufacturer for it before changing the water route.
Check the supplied parts
Lay out the appliance, its adapter if specified, the correct hose and any approved securing part. Some makers include the adapter but sell the hose separately. A hose that looks almost right can still slip under the weight of water or fail to seal on a nozzle. The specified internal diameter matters: it is the opening through the hose, rather than its outside width. Use the gravity-outlet specification instead of a pump-hose size.
Read any instructions about the water tank and float. Some appliances require the tank to remain seated even when water is routed away, because its position switch forms part of normal operation. Treat the float as a safety part and leave it in place. If a model needs a proprietary drainage kit, get that kit rather than forcing a loose tube onto a spout.
Choose Gravity Drainage, Pump or Tank
Gravity works only when water can keep going downhill
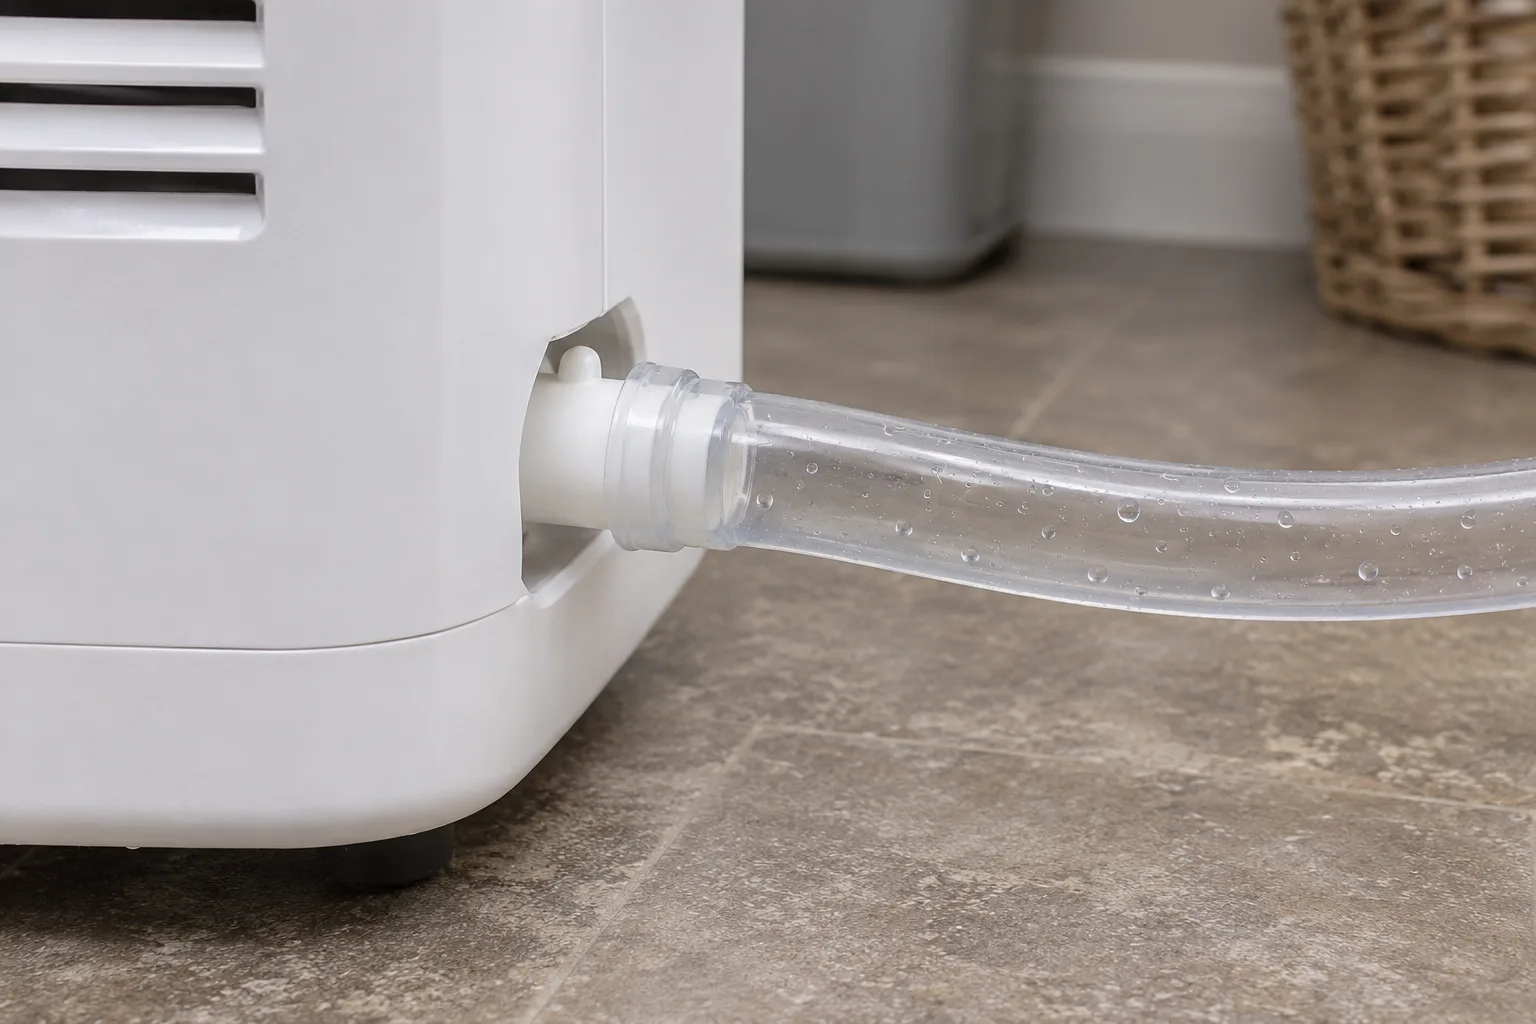
A gravity outlet lets water leave under its own weight. The hose needs a continuous fall from the dehumidifier to the drain, with no raised loop or sagging pocket that traps water. The appliance must sit on the firm, level surface specified by its manual. Raising it on a wobbly stack of furniture to create a fall trades a tank chore for a tip and spill risk. A low floor drain or a suitable waste connection at a lower level can be practical; a high sink rim often rules gravity out.
A counterintuitive point: the appliance’s top is the wrong reference point for hose height. It needs to suit the height of the drain outlet and the full hose path. A hose that drops initially then climbs over a threshold can collect water at its low point. Small amounts may move during an initial test yet stall during ordinary operation. The maker’s route and maximum-length instructions take precedence over a diagram on a generic website.
A pump is a distinct supported system
A pump can move water upward, but only if the appliance supports the specified pump or an independently designed compatible arrangement. A gravity port cannot lift water simply because a hose is attached. Meaco, for instance, describes a separate pump for certain compatible Arete models; that option varies across Arete sizes. A pump has its own installation, power, discharge-height and maintenance instructions. Follow those exact documents and obtain competent help for any permanent waste connection.
Tank mode is often the best answer when the only convenient drain is higher than the outlet, the hose would cross a doorway, or the route cannot be secured. A properly working full-tank shut-off is preferable to an untested unattended hose. If you are comparing room humidity control rather than water disposal, see our dehumidifier-versus-ventilation guide. The machine’s extraction capacity stays the same whichever water route you choose.
Pick a Safe Drain Destination and Hose Route
Put the end where water is allowed to go
A suitable destination must accept the expected condensate without overflowing, backing up or exposing electrical equipment to splashes. A nearby floor drain or appropriate waste fitting can work if the connection is designed for it. A bucket is useful for testing but is still a container that can fill. Resting the hose across a sink edge may be unstable, particularly if someone uses the sink while the machine runs. Avoid routing the hose across a walking path, a door gap or a location where it can be crushed.
The VonHaus 12L model 2000276 manual illustrates how model-specific the limits can be: it calls for a downward hose, no kinks, an unobstructed outlet, and a short recommended length. It also warns against submerging the hose end because that can create an air lock. Those details are model-specific. Your own manual may specify a different hose, adaptor or route.
The practical route check is short:
- Continuous fall: sight along the full run from outlet to drain.
- Stable end: secure it where it cannot be knocked free or immersed.
- No pinch points: keep it clear of doors, furniture wheels and sharp edges.
- Visible joints: leave the first connection accessible for leak checks.
- Dry electrics: keep sockets, plugs and extensions away from possible water paths.
Keep plumbing and electrical work within competence
A hose placed into an existing accessible drain is different from cutting into a waste pipe or making a permanent connection. If the route needs plumbing, ask a competent professional to assess the fitting and any backflow or trap issues. Never tape a hose into a sealed waste opening on the assumption it will drain correctly. Keep the appliance’s electrical supply in the location its manual permits; keep the existing safe supply arrangement where the instructions prohibit extensions or relocation.
This advice is deliberately conservative because the leak can happen hours after a neat-looking setup. A hose can detach when the appliance is moved or a cabinet door closes. A small trial over a waterproof surface helps reveal problems, but it cannot prove an improvised permanent connection safe.
How to Set Up Continuous Drainage on a Dehumidifier With a Gravity Hose
Prepare and connect in one sequence
Use these steps only after the exact model manual confirms a gravity-drain option. Where it differs, the manual governs.
- Switch off and unplug the appliance. Let it stop fully, then place a cloth beneath the drain access point for residual drops.
- Find the specified outlet and parts. Check the diagram for the right nozzle, bung, adaptor and tank position. Leave every unrelated plug in place.
- Fit the approved adaptor or hose. Seat it fully as the instructions show. Avoid forcing a hose over a connection of the wrong size.
- Route the hose downhill. Keep the path smooth, supported and free of kinks. Place its open end securely at a suitable lower drain.
- Refit the tank if required. Confirm the tank and float remain in their normal positions unless the manual says otherwise.
- Check the full path by eye and touch. The hose should stay in place without tension, sharp bends or a trip hazard before power returns.
For the Meaco Arete Two 10/12L specifically, the maker directs owners to remove the tank, take the right-angle adaptor from its lid, push it onto the left-hand spout, attach the hose, then replace the tank. That sequence is a useful example of why the generic advice “pull out the back bung” can be wrong. Check another model’s hose dimension independently before copying the 12.5 mm figure.
Keep the appliance level and the outlet accessible
Keep the dehumidifier level; tilting it can disrupt its water path. The collection tray and safety switches are designed around its intended position. If the hose is too short, get the length and type approved by the maker; joining scraps with tape introduces another failure point. If a hose repeatedly pulls loose, stop the trial and resolve the connection before restarting. A drip tray may reduce damage during supervised testing, but a leaking joint still needs repair.
How to Test the Drain Before Leaving It Running
Watch a complete wet run
Do the first test while you are home. Start the machine in an appropriate operating mode and allow it enough time to collect actual condensate. In a dry room the absence of water may mean the humidistat is satisfied, while the hose may be clear. Our guide to measuring humidity at home helps distinguish a dry room from an extraction problem. A deliberately high-output mode can help only if the manual supports it and the room conditions justify it. Never pour water into an electrical appliance or its internal tray to speed up the test unless the manufacturer specifically instructs that procedure.
Place a dry cloth or paper near the accessible hose joint and under the likely spill point, keeping it away from electrics. Look for fresh wetness after the machine has actually condensed water. Confirm the outlet end remains secure and water reaches the destination. Check for unexpected water in the tank, and watch the machine’s display for a tank-full or error indication. A successful few minutes deserves a longer observed run before relying on the setup for overnight or unattended use.
A useful test record is simple: date, model, drain destination, hose route, how long the machine ran, whether water emerged, whether the tank gained water, and whether any joint became wet. This is a practical household check to avoid mistaking a dry-room no-flow period for proof of a good connection. If a leak appears, switch off and unplug when safe, contain the water and correct the hose or return to tank mode. Switch the unit off immediately instead of waiting for a leak to settle.
Pump-Assisted Drainage Needs Its Own Instructions
Check compatibility before buying or connecting
A separate pump is useful when the only suitable drain sits above the appliance or at the end of a route that cannot fall continuously. Start by checking the exact model and pump pairing in the manufacturer documentation. Compatibility depends on the exact connection and installation instructions. The pump may sit in the tank, connect to an internal outlet, have a separate power arrangement, or impose a maximum lift and hose length. Its own installation guide decides these details.
For example, Meaco describes an optional pump for its compatible 18, 20 and 25L Arete models. The 10/12L models need their own compatibility check before upward draining. Similarly, a third-party condensate pump may need a designed interface and fault protection. If the maker has no supported path, keep tank collection or seek qualified advice rather than improvising an electrical pump beside water on the floor.
Test its failure behaviour too
A pump test checks more than the visible discharge. What happens if the receiving drain is blocked, the pump loses power or its float sticks? The manufacturer’s safety instructions should say how the system stops or alarms. Watch at least one complete pump cycle under supervision and inspect both inlet and discharge connections. Keep the mains connection dry and accessible. A pump can remove the need to empty a tank, but it adds parts and another point of failure; a simple, well-routed gravity hose may be preferable.
Troubleshoot a Full Tank, No Flow or Leaks
Start with the symptom, then the least invasive check
- Tank fills despite a hose: confirm the correct outlet, fitted adaptor, tank seating and a continuous downhill route. Some models collect a little residual water in the tank; use the manual to judge what is normal.
- No water appears at the hose: check whether the compressor is actually collecting moisture, then inspect the hose for a high loop, kink or blocked end. A satisfied humidistat can make a good drain look inactive.
- Water appears around the outlet: switch off, unplug safely and inspect the hose fit and approved seal. Replace damaged parts rather than adding tape to a loose connection.
- Full-tank warning remains on: verify the tank and float are correctly seated according to the manual. Leave the safety switch working.
- Flow starts then stops: look for a sagging water trap, an immersed hose end or a clogged drain destination.
The Meaco Arete Two manual explicitly says its float is essential to the tank-full shut-off and should remain in the tank. Ebac’s Ebac 15 instructions, by contrast, call for a dedicated permanent-drainage kit and describe periodic drain checks. That difference is exactly why troubleshooting should begin with the model, rather than a universal internet fix.
If the appliance leaks from inside its casing, has an electrical fault, or the manufacturer’s steps do not resolve the problem, stop using it and contact the maker or a qualified repairer. Leave the refrigerant system and wiring untouched. For the broader question of whether condensation is a ventilation or humidity-control issue, our window condensation guide and damp and mould guide cover the home-level diagnosis.
Maintain the Hose and Know When to Return to Tank Mode
Check the route after moving or cleaning
A drain hose is easy to nudge while vacuuming or moving furniture. Inspect it after the machine moves and periodically during long runs: the end should still be fixed, the fall unobstructed and the joint dry. Follow the maker’s cleaning interval for the tank, filter and drain parts. Unplug before cleaning as instructed. Avoid flushing chemicals through the appliance or poking a sharp tool into an inaccessible outlet.
Replace a hose that has become brittle, flattened or mouldy inside if cleaning according to the maker’s guidance will not restore it. Check a drain destination for blockage too; a perfectly clear hose is useless if its end sits in a backed-up waste. A permanent installation should remain accessible enough to inspect, with clear access rather than hidden behind furniture.
Tank mode is a useful fallback
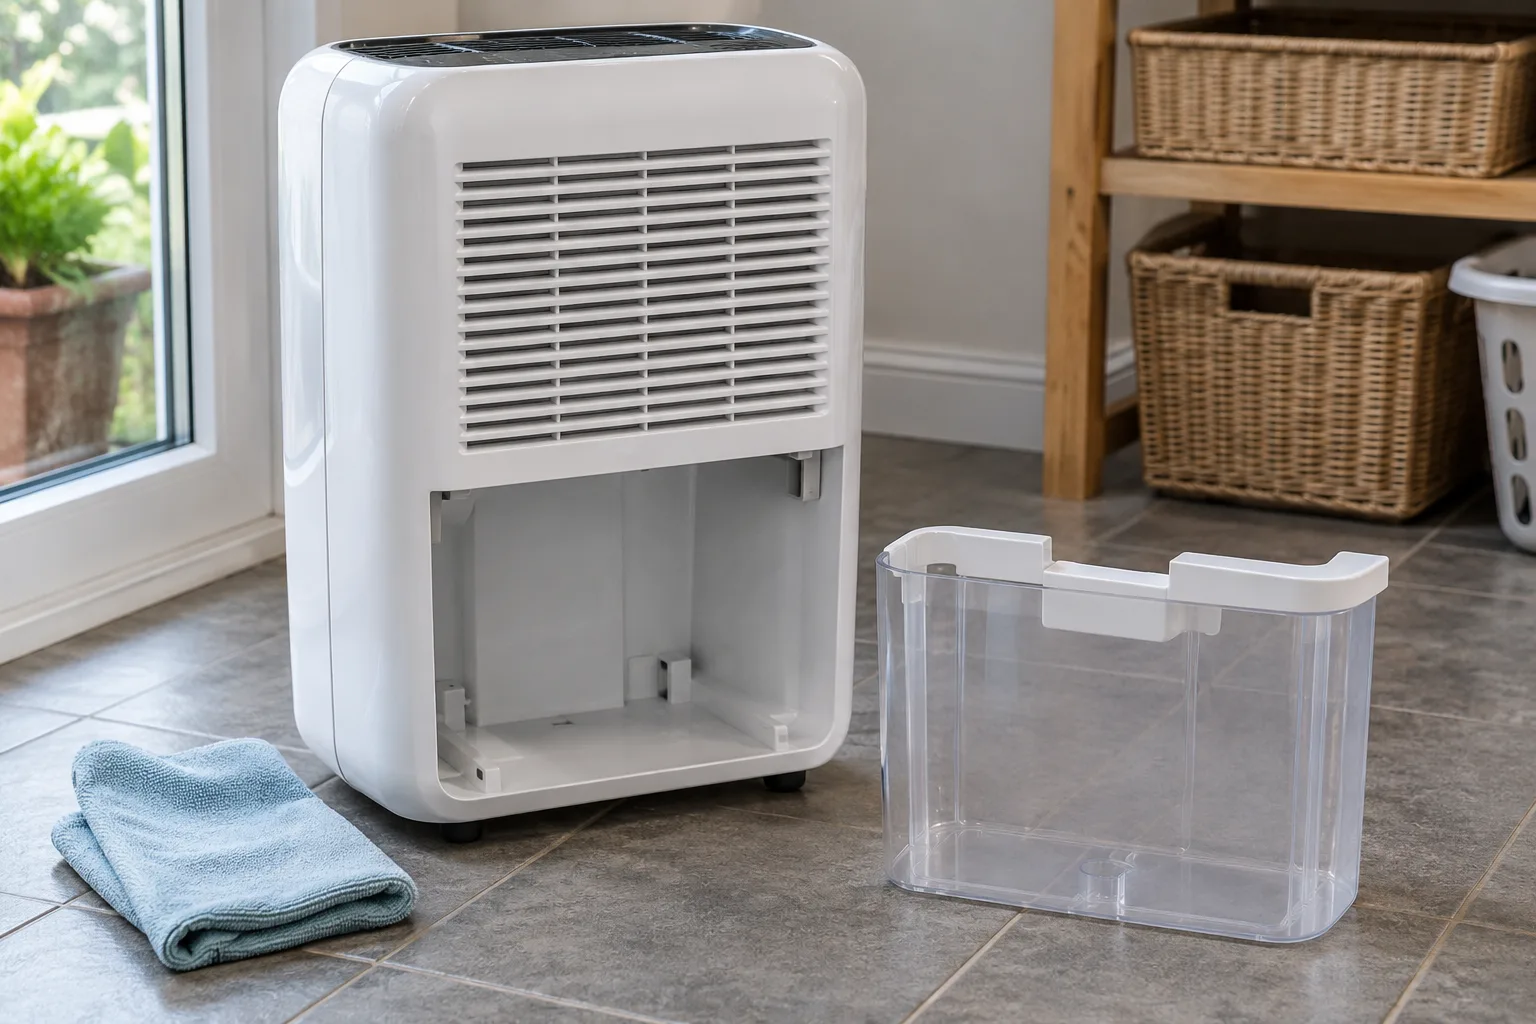
If you cannot make a secure continuous fall, if the drain is temporarily unavailable, or if a connection leaks, return to tank collection using the model’s instructions. Confirm any bung or adaptor is restored and the tank-full shut-off works normally. Emptying a tank is inconvenient, but it gives you a visible check on how much water the appliance is collecting and avoids a suspect hose running unattended.
The bottom line: a supported gravity drain needs the right outlet, an approved hose and an uninterrupted downhill route; a higher destination needs a model-supported pump or a different plan. Prove the setup under observation before treating it as hands-off. Drainage solves tank emptying while the underlying moisture cause still needs attention. For use settings and room placement, refer back to our dehumidifier setup guide rather than turning this hose guide into another general primer.
Frequently Asked Questions
Can any dehumidifier use a continuous drain hose? No. Check the exact model instructions for a supported outlet and the required hose or kit. A continuous operating mode alone does not prove hose drainage is available.
Does the drain hose have to go downhill? A gravity hose needs a continuous fall from the unit’s outlet to the destination. A supported pump is the separate option for lifting water.
Should the water tank stay in place with a hose fitted? On some models, yes. The Meaco Arete Two 10/12L manual tells users to refit its tank after connecting the hose. Follow your own model’s sequence and leave its safety float intact.
Why is my tank filling when the hose is connected? The hose may be on the wrong outlet, kinked, raised or blocked, or the adaptor may be loose. Check the model manual before altering any parts.
Can I run the hose into a bucket? A bucket can help during a supervised test, but it can overflow and does not make the arrangement truly continuous. Use an appropriate secure drain for long runs.
Can I leave a newly fitted drain unattended overnight? First watch a full wet run, inspect the joint and destination, and confirm the maker permits the arrangement. If the route is insecure or the test is inconclusive, use tank mode.